Level of Detail

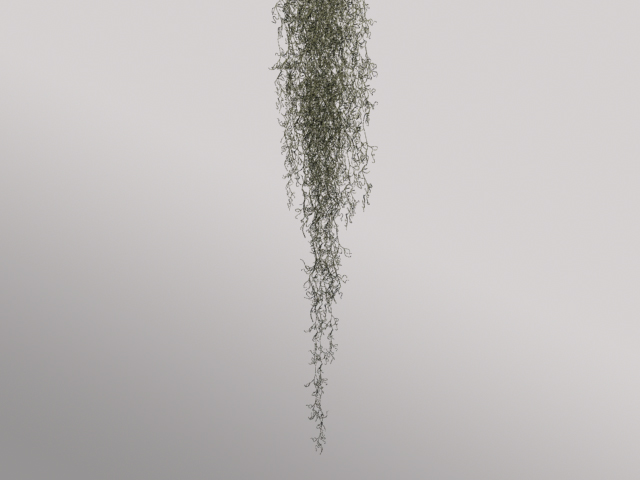
The animations on this page demonstrate the support offered by RenderMan for level-of-detail (LOD). Three models of a short length of Spanish Moss were made in Maya. Using LOD the renderer selects the appropriate model to render based on the area of screen space occupied by the model.
Models
|
The spanish moss geometry was created by using CV curves as guides to extrude poly cylinders into a moss-like form. By adjusting the taper values of the extrusions I was able to get the cylinders to diminish in size as they approached the end of their guiding curves. The low resolution mesh consists only of curves since Renderman is able to render curves unlike Maya. The medium resolution mesh is the initial extrusion of cylinders, and the high resolution mesh is the medium resolution subdivided once. This modeling technique allowed me to maintain continuity between all three levels of detail. When all three models are composited on top of each other their geometry follows the same basic shape minimizing the amount of popping as the models transition between levels of detail. |
|
Poly Counts |
flash content will replace this text
|
Level of Detail Ranges
To determine which model should appear visible to the renderer, renderman must know the ranges of screen space (amount of pixels occupied on screen) each object will exist at. I decided to calibrate these ranges with a screen space of 640x480, resulting in a pixel space of 307,200 pixels.
After entering different ranges of numbers I was able to hone down a set of values that blended the models at appropriate distances from the camera making use of three levels of detail. Below is an animation of the camera approaching the model from thirty units away. Notice how the model changes from red (low res) to green (medium res) to blue (high res).
Detail ranges of each model:
Low: DetailRange [ 1 1 2000 4000 ]
Medium: DetailRange [2000 4000 7000 50000]
High: DetailRange [7000 50000 3000000 400000000]
Dynamics Simulations
To animate the moss I decided to use Maya's nCloth to dynamically simulate motion. I started with creating a poly plane that had four height divisions with one proxy box attached to each division. The proxy boxes reference a rib file of the spanish moss models with level of detail ranges programmed in. When the scene is rendered the proxy boxes are replaced with moss models resulting in one continuous strand of spanish moss. My goal with the nCloth was to have the proxy boxes animate dynamically so I would not have to manually keyframe each one.
Initial TestEach proxy box was appended to the nCloth poly plane by using a mel script called
parentToSurfrace which creates a follicle node at a point on the plane closest to
the center of the proxy box. The proxy box is then parented to the follicle allowing it to follow the motion of the
nCloth plane. |
flash content will replace this text
|
Wind Test
NCloth also has wind attributes allowing for subtle animation perfect for strings of spanish moss. Inside the
nucleus node created with the nCloth plane are wind speed and gravity values. In this test I set the wind speed
to 12. |
flash content will replace this text
|
Collision Strings
The end result of this project will have multiple string of moss clumped together to form a clump of moss
as seen in my reference images. I decided to test multiple strings of the moss colliding with an object
to foresee how a group of nCloth objects will interact together |
flash content will replace this text
|
Adjusted Collision ValuesTo fix this problem I decided to adjust the nCloth properties of the poly plane. By adjusting the collision flag,
mass, dampening, and tangential drag I was able to soften the collision effects however the boxes still jolt enough
to break the continuity of the moss. |
flash content will replace this text
|
Proper Ncloth Collision
After a series of tests I discovered that I had to freeze transforms on the poly planes before making them
nCloth. Initially I froze the transforms on both the poly planes and proxy boxes but that caused the
referenced rib files to lose their positional data when instantiated through readMossRI making them appear
at the origin of world space. |
flash content will replace this text
|
Moss Grove
I wanted to use the nCloth dynamics to allow a camera to move through a scene full of dangling moss with a collision
sphere around the camera pushing the moss out of the way as it progresses, however, I was unable to get the dynamics to work properly.
|
flash content will replace this text
|
Final Render
|
|
To create this clump of moss I duplicated many strings of proxy boxes of various sizes and heights to create a tapered form. Two spot lights were used as key and rim lights with subtle hues of warm and cold colors. The shader used is lambert with a green/grey diffuse color. |